


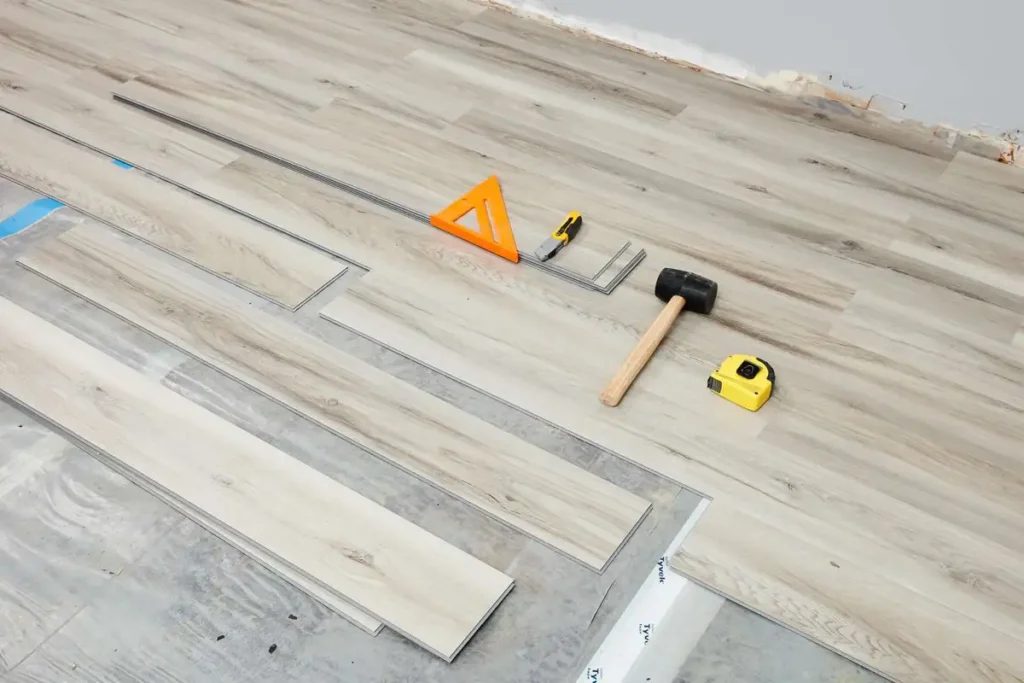
Vinyl plank flooring has become a popular choice for homeowners due to its durability, affordability, and ease of installation. Whether you’re a seasoned DIY enthusiast or a beginner, this guide will walk you through how to install vinyl plank flooring step by step.
Why Choose Vinyl Plank Flooring?
Before diving into the installation process, let’s explore why vinyl plank flooring is a great option:
- Waterproof: Ideal for high-moisture areas like bathrooms and kitchens.
- Easy Maintenance: Resistant to stains and simple to clean.
- Cost-Effective: More affordable than hardwood flooring.
- Durable: Scratch-resistant and long-lasting, making it perfect for households with kids or pets.
Preparation Before Installation
1. Select the Right Type of Vinyl Plank Flooring
Vinyl planks come in three main types based on installation methods:
- GripStrip: Features adhesive strips for easy assembly.
- Click-Lock: Uses interlocking edges to snap planks together.
- Glue-Down: Requires adhesive to secure planks directly to the subfloor.
2. Gather the Necessary Tools
You’ll need the following tools for a successful installation:
- Utility knife
- Measuring tape
- Chalk line
- Rubber mallet
- Spacers
- Pry bar for removing baseboards
3. Prepare the Subfloor
Ensure the subfloor is clean, dry, and level. Remove any carpet or old flooring. Use a self-leveling compound for uneven surfaces to create a solid foundation.
Step-by-Step Installation Guide
Step 1: Plan Your Layout
Measure the room dimensions to determine the number of planks required. Purchase 10–20% extra material to account for cutting and mistakes. For a balanced look, ensure the border planks are at least half the width of the full plank.
Step 2: Install the First Row
- Trim the tongue edge of the first plank using a utility knife.
- Place the first plank with the cut edge facing the wall, maintaining a gap using spacers.
- Connect the second plank by angling and snapping it into the groove of the first plank. Lay the plank flat to lock it in place.
Step 3: Continue with Subsequent Rows
- Stagger the joints between planks by at least six inches for a natural appearance.
- Use a rubber mallet to secure each plank tightly.
Step 4: Handle Cuts and Edges
For irregular shapes or corners, use a utility knife or a specialized cutter. Create a paper template for tricky cuts to ensure accuracy.
Step 5: Reinstall Baseboards
After finishing the installation, reinstall the baseboards to cover the expansion gap along the walls.
Pro Tips for Perfect Installation
- Use a Chalk Line: Ensures a straight and even first row.
- Mix Planks from Different Boxes: Helps achieve a more natural pattern and color variation.
- Check Subfloor Levels: Ensure no height differences greater than 3/16 inch over 10 feet.
- Follow Manufacturer Instructions: Each product may have specific installation requirements.
Maintaining Your Vinyl Plank Flooring
Once installed, keep your floors looking their best with these maintenance tips:
- Sweep daily or use a microfiber mop to remove dirt and debris.
- Avoid harsh chemicals like bleach; opt for mild soap and water instead.
- Place rugs at entrances to reduce dirt buildup.
- Lift furniture when moving it to prevent scratches.
FAQs About Vinyl Plank Flooring
Is Vinyl Plank Flooring Easy to Install?
Yes! With the right tools and preparation, it’s a beginner-friendly project.
Do I Need to Remove Old Flooring?
You can install vinyl planks over concrete, hardwood, or existing vinyl, as long as the subfloor is clean and level.
Is Vinyl Plank Flooring Waterproof?
Absolutely. Its waterproof nature makes it a great choice for moisture-prone areas.
How Long Does Vinyl Plank Flooring Last?
With proper care, vinyl plank flooring can last 10–20 years or more.

Conclusion
Installing vinyl plank flooring is a manageable project that can dramatically enhance the look of your home. By following these steps, you’ll achieve a professional finish while saving on installation costs. So gather your tools, choose your planks, and start transforming your space today!